 Pin it
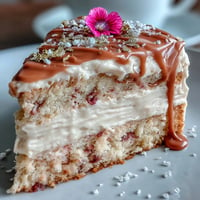
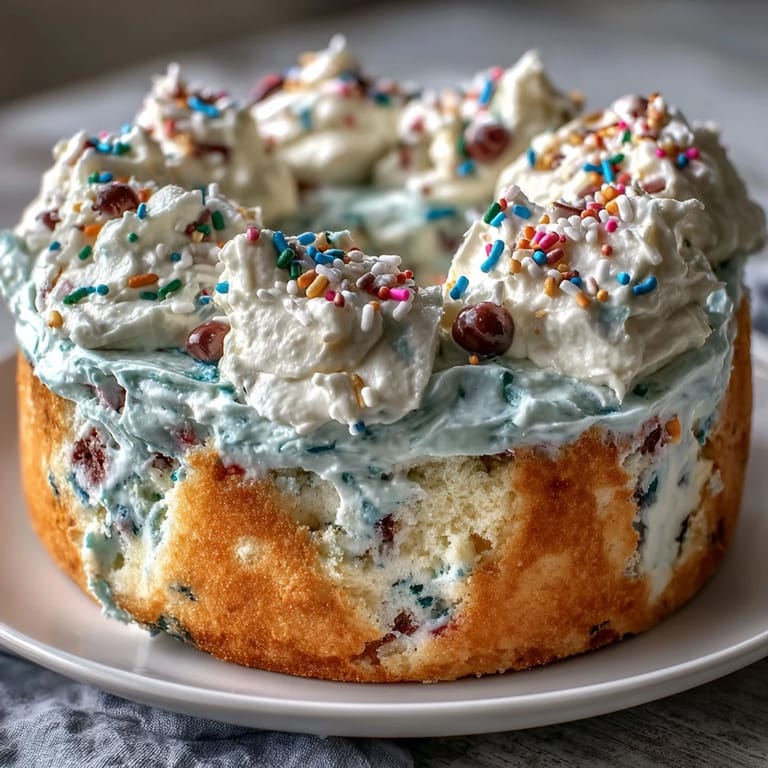
 The sound of laughter bouncing through the kitchen while rainbow sprinkles scatter across the countertop is what immediately comes to mind when I make this Spring Birthday Party Sprinkle Funfetti Dip Cake. One afternoon in April, sunbeams streamed in as I whipped up this cake in a rush before a last-minute birthday picnic. Music played faintly, and I was almost distracted enough to forget the vanilla—almost. The sweet scent of the batter filled the air, and in that moment, it felt like celebration could start long before the first candle was lit.
One spring, I made this cake for my best friend's birthday bash in the park with a mix of adults and kids. Watching the youngest guests dip strawberries into the frosting while the grownups argued over the biggest slice made it clear that nobody outgrows a love for colorful sprinkles.
Ingredients
- All-purpose flour: Use a light hand mixing so the cake stays tender and fluffy, the way funfetti cakes should be.
- Baking powder: Gives the cake that bakery-worthy rise—measure carefully.
- Salt: Just the right amount brings out all the sweet flavors in the cake.
- Unsalted butter: Room temperature is key for creaming, and it gives richness to both cake and dip.
- Granulated sugar: The fine crystals help aerate the batter for a soft crumb.
- Large eggs: Adding them one at a time makes for a smoother, silkier batter.
- Vanilla extract: I swear by a whole tablespoon for maximum flavor punch.
- Whole milk: Brings moisture and a soft, dreamy cake texture.
- Rainbow sprinkles (jimmies style): They dont bleed color as much as nonpareils—fold them in gently for clear pops of color.
- Cream cheese: For the dip, it must be softened fully for lump-free results.
- Powdered sugar: Adds sweetness and makes the dip delightfully cloud-like.
- Additional milk: Use just enough to make the dip spreadable but thick.
- Extra rainbow sprinkles & edible spring candies: There is no such thing as too many sprinkles on this cake.
Tired of Takeout? 🥡
Get 10 meals you can make faster than delivery arrives. Seriously.
One email. No spam. Unsubscribe anytime.
Instructions
- Start with the oven:
- Preheat to 350°F (175°C). Prepare two 8-inch pans with parchment and a touch of butter—if the parchment pops up, press it flat with the butter wrapper.
- Mix your dry ingredients:
- Whisk flour, baking powder, and salt in a bowl until no streaks remain, letting the powdery scent waft up.
- Cream the butter and sugar:
- Beat the butter and sugar in a large bowl; you want it pale and fluffy. Pause to scrape the bowl so no sneaky lumps hide underneath.
- Add eggs and vanilla:
- Beat in the eggs one at a time, then the vanilla—watch the mixture turn glossy.
- Incorporate dry ingredients and milk:
- Alternately fold in dry mix and milk, beginning and ending with flour. Dont forget to scrape down the sides so nothing is left unmixed.
- Sprinkle time:
- Gently fold in the jimmies, savoring how the batter instantly transforms into something festive.
- Bake with joy:
- Divide batter evenly, smooth tops, and bake for 28–32 minutes. If your kitchen smells like vanilla dreams, youre close to done.
- Cool completely:
- Let cakes rest 10 minutes, then turn out on racks to finish cooling—if you rush, the frosting will melt.
- Make the dip:
- Beat cream cheese and butter smoothly, then add powdered sugar gradually. Pour in vanilla, a splash of milk, and sprinkles, mixing until light and dreamy.
- Layer and frost:
- Place one cake on a serving plate, spread a luscious layer of dip, then the second cake. Frost top and sides generously; dont worry about perfection, more sprinkles will cover any slips.
- Decorate and chill:
- Scatter extra sprinkles and candies all over, then chill cake at least 30 minutes so everything sets and slices cleanly.
 Pin it
  Pin it
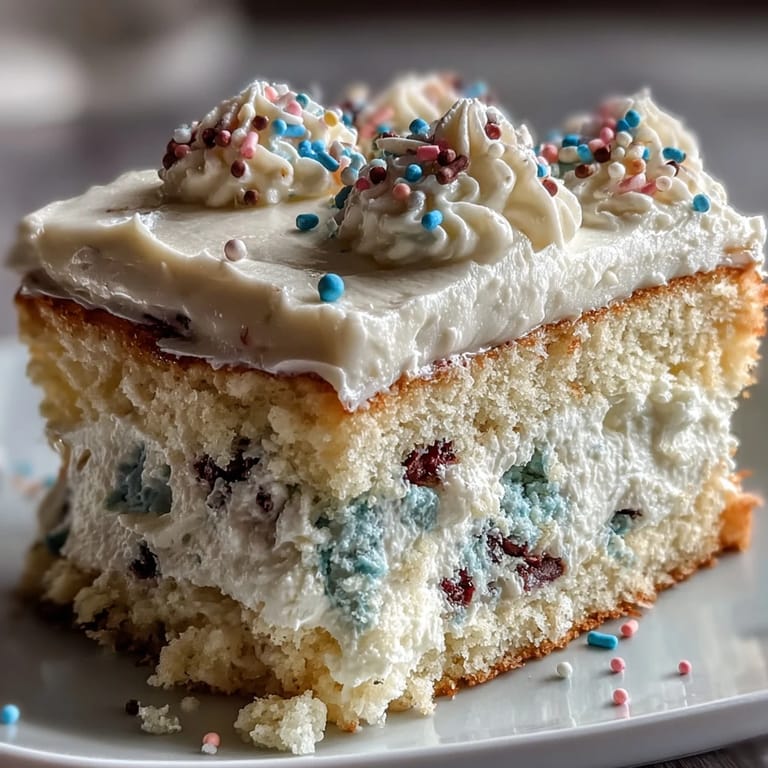
 When my niece beamed at her rainbow-swirled slice and stood on tiptoes to blow out her candles, I realized this cake isn’t just for birthdays—it’s now the star of whenever-we-need-it family celebrations.
Dealing With Sprinkles and Sticky Fingers
Sprinkles will try to roll away at every step, and more than once I found a stray one stuck to my elbow or the cat. For the neatest results, sprinkle the cake while holding it over a rimmed baking sheet to catch the wild ones. And if someone sneaks an extra handful for their slice, just smile and let it go.
Making Ahead For a Stress-Free Party
This cake keeps beautifully when assembled ahead. Bake the cake layers the night before and refrigerate, then frost and decorate on party day for stress-free slicing and serving. The chill time helps flavors meld, and it holds its shape even if you’re distracted greeting guests.
How To Serve It For Maximum Smiles
I like to cut generous wedges and serve each with a pile of extra dip in a small bowl beside the slice. The best feedback comes from faces smeared with sprinkles and tiny fingers making a game of finding the brightest bits in their piece.
- Keep a damp towel nearby if you’re serving to kids, because things get crumbly in a delightful way.
- A sharp knife cleans between slices for picture-perfect layers.
- Don’t forget to sneak a spoon of dip for yourself before serving the crowd.
 Pin it
  Pin it
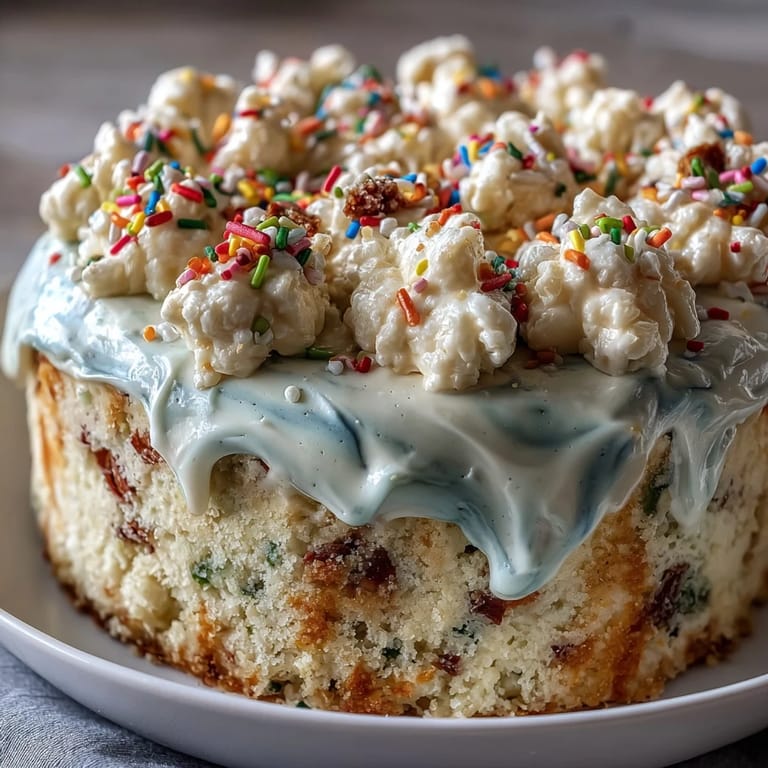
 Here’s to a cake that turns any spring day into a real event and a recipe you’ll find excuses to make again soon.
Recipe FAQs
- → How do I stop sprinkles from bleeding into the batter?
Use jimmies-style sprinkles rather than nonpareils and fold them in gently at the end of mixing. Tossing sprinkles in a tablespoon of flour before adding can also help suspend them and reduce color leakage during baking.
- → Can I make this gluten-free?
Yes. Substitute a 1:1 gluten-free baking flour blend and check that the sprinkles are certified gluten-free. Baking time may vary slightly, so test with a toothpick for doneness.
- → What’s the best way to store leftovers?
Cover the cake loosely and refrigerate for up to 3 days. Chilling helps the dip-style frosting stay firm; bring slices to room temperature for 15–20 minutes before serving if you prefer a softer texture.
- → Can I freeze the cake or its components?
Yes. Freeze unfrosted layers wrapped tightly in plastic and foil for up to 2 months. Thaw in the refrigerator overnight, then assemble with chilled dip. Assembled cakes freeze less well because of the frosting texture.
- → How do I get a smooth, pipeable dip frosting?
Beat cream cheese and butter until very smooth, then sift in powdered sugar gradually. If it’s too soft, chill briefly and re-whip; if too stiff, add 1 tsp milk at a time. Use an offset spatula for an even finish.
- → Are there dairy-free or egg-free swaps?
For dairy-free, use vegan butter and a dairy-free cream cheese alternative; whole-milk can be swapped for oat or almond milk. For egg-free cake, use an egg replacer or a commercial egg substitute and expect slight changes in crumb and rise.