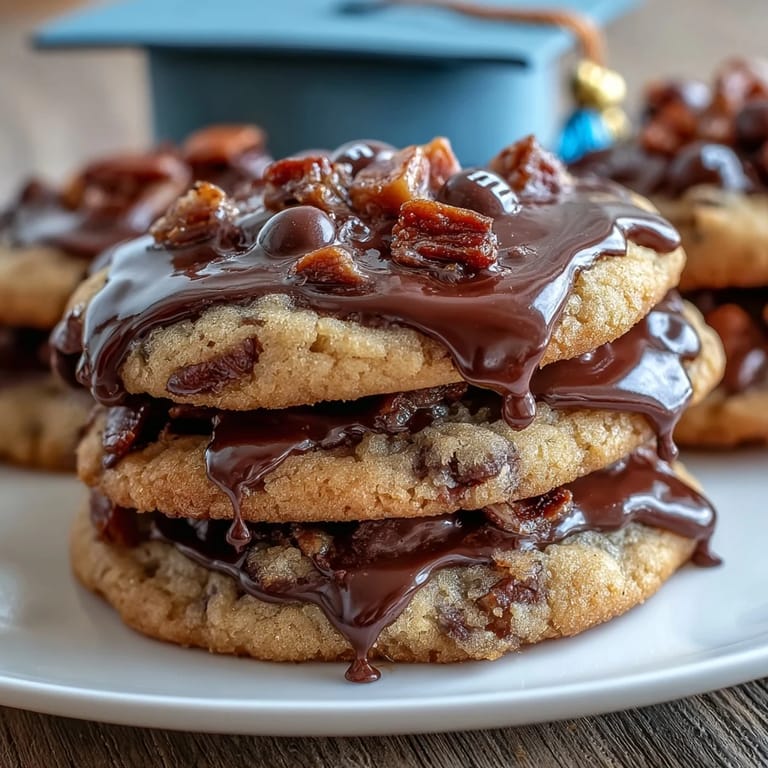
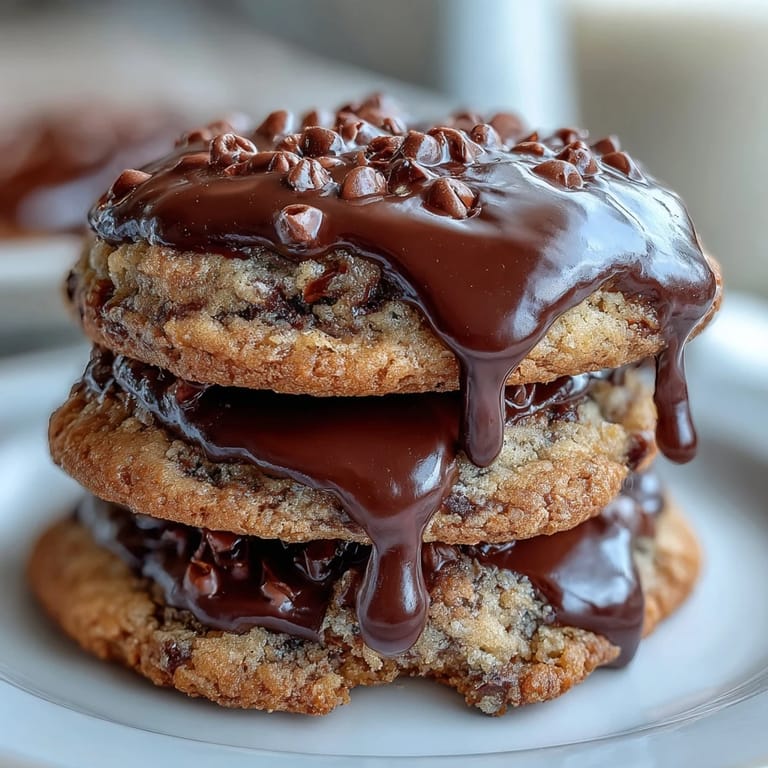
 Pin it
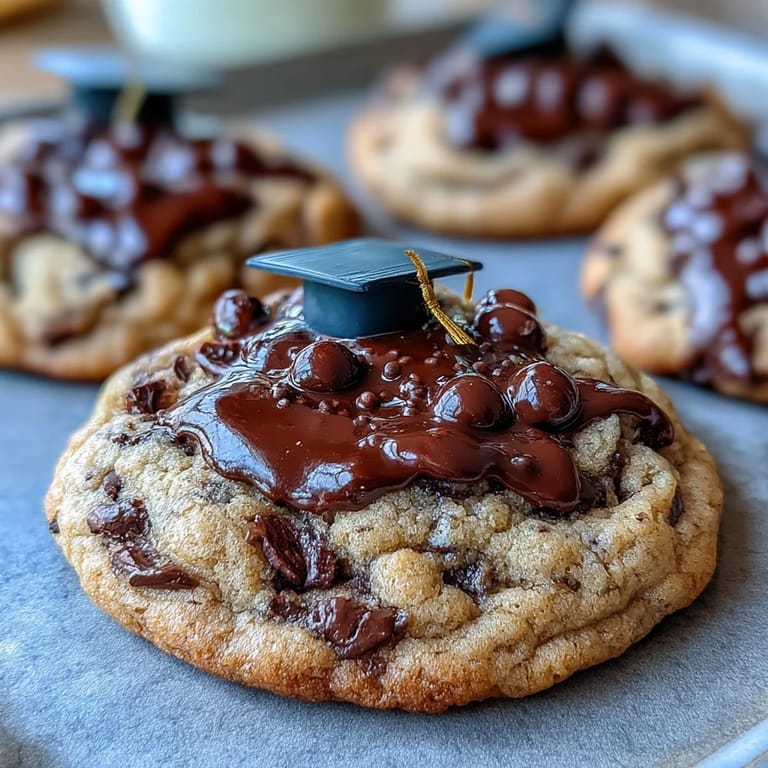
 My sister called me in a panic two days before her graduation, asking if I could make something special for her celebration brunch. I'd never decorated cookies before, but something about the challenge excited me—turning simple sugar cookies into tiny graduation caps felt like the perfect way to mark such a big milestone. That afternoon, I found myself covered in black royal icing, laughing at my wobbly first attempts, but by the end, I had two dozen little edible mortarboards that actually looked intentional. Now these cookies are my go-to for any graduation party, and I've learned they're easier than they look.
I'll never forget watching my sister's face light up when she saw the platter of graduation caps on the table—she grabbed three before anyone else could reach them. That moment made me realize these weren't just cookies; they were edible proof that someone had taken time to celebrate her specifically. Now whenever I make them, I think about how food becomes a memory when it's made with someone in mind.
Ingredients
- All-purpose flour (2 1/2 cups): Use a light hand when measuring—dip and level instead of scooping straight from the bag, or you'll end up with too much flour and dry, crumbly dough.
- Baking powder (1/2 teaspoon): This just gives the cookies a delicate structure so they don't spread too thin or bake up tough.
- Salt (1/4 teaspoon): A pinch brings out the buttery flavor and keeps the sweetness from feeling one-dimensional.
- Unsalted butter (3/4 cup, softened): Softened is key—it should be the texture of soft cream cheese, not melted or cold, so it creams properly with the sugar.
- Granulated sugar (1 cup): This creates that crispy exterior and tender crumb structure that makes these cookies so satisfying to bite into.
- Egg (1 large): Brings everything together while adding just enough moisture without making the dough sticky.
- Vanilla extract (2 teaspoons): Don't skip this—it adds warmth and depth that keeps the cookies from tasting flat.
- Powdered sugar for royal icing (3 cups, sifted): Sifting is non-negotiable here; lumpy icing won't spread smoothly or dry evenly on the cookies.
- Egg whites or meringue powder: Egg whites create a shinier, more authentic finish, but meringue powder is safer if you're concerned about raw eggs and works beautifully.
- Gel food coloring (black and yellow): Gel colors won't dilute your icing like liquid colors do, and they mix in more smoothly without making everything watery.
- Mini M&Ms or candy pearls (for tassels): These add a playful pop of color and texture—choose whatever feels celebratory to you.
Tired of Takeout? 🥡
Get 10 meals you can make faster than delivery arrives. Seriously.
One email. No spam. Unsubscribe anytime.
Instructions
- Combine your dry ingredients:
- Whisk flour, baking powder, and salt together in a bowl and set aside. This distributes the leavening evenly so you won't get dense pockets in your cookies.
- Cream butter and sugar into fluffy clouds:
- Beat softened butter and granulated sugar together until it looks pale and airy—about 2 to 3 minutes. You'll know it's ready when it practically doubles in volume and holds a peak when you lift the beaters.
- Add the egg and vanilla:
- Mix in the egg and vanilla extract, scraping down the bowl occasionally so everything incorporates evenly. The mixture should look smooth and emulsified.
- Bring dough together gently:
- Add your flour mixture gradually, mixing on low speed just until everything comes together. Overmixing develops gluten and makes the cookies tough, so stop as soon as no dry streaks remain.
- Chill and rest your dough:
- Divide dough in half, shape each into a disk, wrap in plastic, and refrigerate for 30 minutes. This prevents the cookies from spreading too much during baking and makes them easier to cut.
- Roll and cut your caps:
- Preheat your oven to 350°F, then roll chilled dough to 1/4-inch thickness on a lightly floured surface. Use a graduation cap or square cutter to stamp out shapes, placing them on parchment-lined baking sheets.
- Bake until just golden:
- Bake 8 to 10 minutes, watching carefully so the edges turn just barely golden but the centers stay tender. They'll firm up as they cool, so pull them out when they still look slightly underdone in the middle.
- Cool completely before decorating:
- Let cookies rest on the baking sheet for a few minutes, then transfer to a wire rack until completely cool. Warm cookies will crack if you try to decorate them, and the icing won't set properly.
- Whip royal icing to stiff peaks:
- Beat egg whites (or meringue powder mixture) until foamy, then gradually add sifted powdered sugar, beating for about 5 minutes until you have stiff, glossy peaks. The icing should hold its shape when you lift the beaters.
- Tint and adjust consistency:
- Divide icing into portions and tint most of it black with gel coloring, leaving a smaller amount yellow for the tassels. Add water a teaspoon at a time to thin for flooding, or more powdered sugar for piping stiff details.
- Outline and flood each cap:
- Using black royal icing in a piping bag, outline the edges of each cookie, then thin the remaining black icing slightly and flood the interior. Use a toothpick to coax it to the edges, then let it set for 30 to 60 minutes until it hardens.
- Pipe yellow tassels and buttons:
- Once the black base is fully set, pipe a small yellow button on top of each cap and a thin tassel dropping down from it. Place an M&M or candy pearl at the end of each tassel while the icing is still tacky.
- Let everything dry completely:
- Allow decorated cookies to cure for several hours or overnight before serving. This ensures the icing hardens all the way through and the cookies stay fresh and beautiful.
 Pin it
 There's something magical about watching someone bite into a cookie and realize it's both beautiful and delicious at the same time. My niece told me these were the best part of her graduation day because they meant someone believed in her enough to spend an afternoon making something thoughtful.
Why Baking Ahead Makes All the Difference
The best part about this recipe is its flexibility with timing—I baked the full batch two days before my sister's party and decorated them the morning of the event, which meant I wasn't stressed right before guests arrived. Baked cookies stay fresh in an airtight container for a couple of days, actually becoming slightly softer and more tender as they sit. This give-yourself-grace approach to party prep completely changed how I think about entertaining.
Troubleshooting Your Decorating Mishaps
My first attempt at piping tassels looked like tiny spiders had crashed into the cookies, but I learned that the secret is practicing on parchment paper first to get a feel for the piping pressure and speed. If your icing is too stiff, it'll be impossible to pipe without shredding; if it's too thin, everything'll blur together into a mess. Watch your icing consistency like you're testing bathwater—it should flow smoothly but hold a shape when you stop piping.
Storage, Serving, and Sharing These Celebrations
Store decorated cookies in a single layer in an airtight container at room temperature for up to a week, keeping parchment between layers so they don't knock against each other. They actually look prettier the day after decorating because the icing continues to harden into a beautiful, glossy finish. Pack them into small boxes with tissue paper, tie with ribbon, and suddenly you have gifts that feel special without being fussy.
- Swap the M&Ms for gold sprinkles or pearl dust if you want an even more elegant graduation look.
- Make these a day or two ahead of your event so you can relax and actually enjoy celebrating instead of decorating.
- These freeze beautifully undecorated, so bake a double batch and freeze for future celebrations whenever they come along.
 Pin it
 These cookies remind me that the best celebrations are the ones where someone put thought into the details. Make them, share them, and watch people's faces light up when they realize you created something just for them.
Recipe FAQs
- → What flour is best for these cookies?
All-purpose flour provides the right balance for a tender yet crisp texture, ensuring the cookies hold their shape during baking.
- → How do I achieve smooth royal icing consistency?
Beat egg whites or meringue powder with powdered sugar until glossy peaks form. Adjust with water for flooding or extra sugar for piping.
- → Can the dough be prepared in advance?
Yes, the dough can be chilled for at least 30 minutes. For convenience, bake the cookies up to 2 days ahead and decorate the next day.
- → What’s the best way to apply colored details?
Use small piping bags with fine tips to pipe tassels and buttons. Toothpicks help spread icing edges smoothly before drying.
- → Are there alternatives to gel food coloring?
Natural colorings like beet juice for red or turmeric for yellow can be used, though colors may vary slightly.