 Pin it
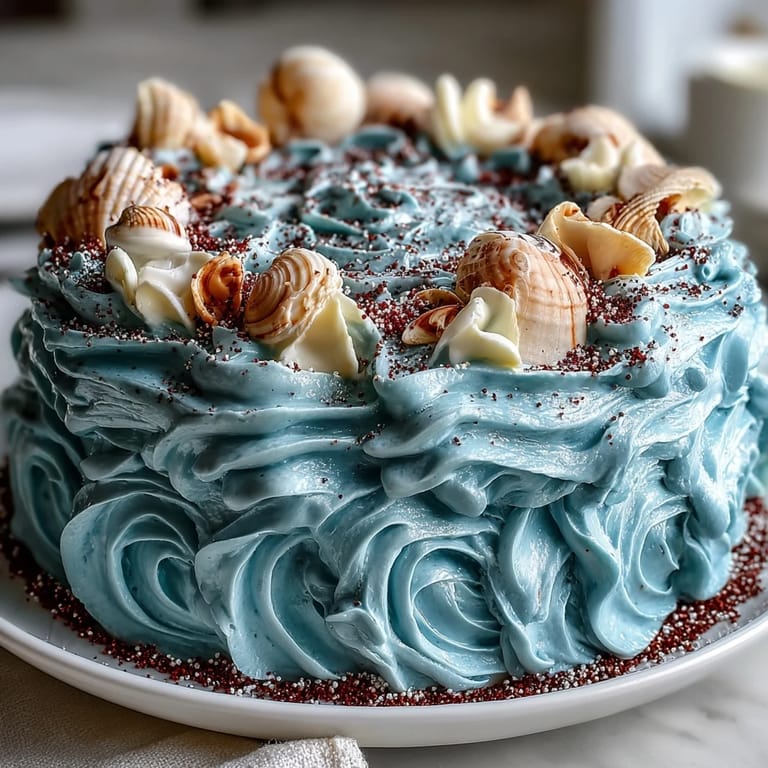
 It was a breezy summer afternoon when I first envisioned creating a cake that celebrated my good friend, a true Cancer at heart. The vivid colors of the ocean always reminded her of childhood summers spent by the sea, and I thought this cake would encapsulate those memories. As I mixed the batter and the sweet scent of vanilla filled the kitchen, I could almost hear the waves crashing in her laughter. This recipe isn't just about the cake; it's a piece of joy crafted with that love for the ocean. Just the sight of it brings a smile and a sigh of delight.
Once, I baked this ocean blue cake for a surprise birthday party, and the excitement was palpable as the guests walked in. When they saw the vibrant waves of blue frosting, gasps echoed around the room. It was a kicker for the party, where everyone dived in with their forks, leaving only crumbs and happy faces. That laughter and joy made all the mixing worth it. Food, after all, is meant to spark joy and connection.
Ingredients
- All-Purpose Flour: This helps achieve a light and fluffy texture that’s essential for a great cake.
- Baking Powder: The key to making your cake rise beautifully.
- Unsalted Butter: Lets you control the saltiness, making it perfect for the batter and buttercream.
- Granulated Sugar: Sweetens the cake and helps create that airy structure.
- Large Eggs: They bring moisture and richness, crucial for a moist cake.
- Vanilla Extract: A splash of this adds warmth and depth to your flavors.
- Whole Milk: Ensures the cake is tender and moist.
- Heavy Cream: This adds a lightness to the buttercream that’s simply dreamy.
- Blue Gel Food Coloring: Essential for achieving that beautiful ocean blue hue.
- White Chocolate Chips: These melt into perfect shell shapes, bringing a sweet ocean touch.
Tired of Takeout? 🥡
Get 10 meals you can make faster than delivery arrives. Seriously.
One email. No spam. Unsubscribe anytime.
Instructions
- Get Started:
- Preheat your oven to 350°F (175°C) and prepare two 8-inch round cake pans by greasing and flouring them. This sets the stage for a delightful baking experience!
- Mix Dry Ingredients:
- In a bowl, whisk together flour, baking powder, and salt until combined. This not only blends them but also aerates for a fluffy cake.
- Cream the Butter and Sugar:
- In a large bowl, beat the softened butter and sugar together until the mixture is light and fluffy. The sound of the mixer churning is music to a baker’s ears.
- Add the Eggs:
- Incorporate the eggs one at a time, giving each an energetic mix before adding the next. It’s like inviting them to the party one by one!
- Combine:
- Gradually mix the flour mixture and milk into the butter mix, starting and ending with the flour. Be gentle and stop mixing once it's just combined to keep that lightness.
- Bake:
- Pour the batter evenly into your prepared pans, smoothing the surfaces. Bake for 30-35 minutes until a toothpick inserted in the center comes out clean—anticipation builds!
- Cool:
- Let the cakes cool in their pans for about 10 minutes before carefully turning them out onto wire racks to cool completely. Patience pays off here.
- Make the Buttercream:
- Beat the butter until creamy, mix in the powdered sugar gradually, then add vanilla and heavy cream to fluff it all up. The heavenly smell will draw you in!
- Assemble the Cake:
- Level your cooled cake layers if needed, spread blue buttercream over the first layer, and then top with the second layer. A crumb coat will help keep the cake tidy!
- Final Buttercream:
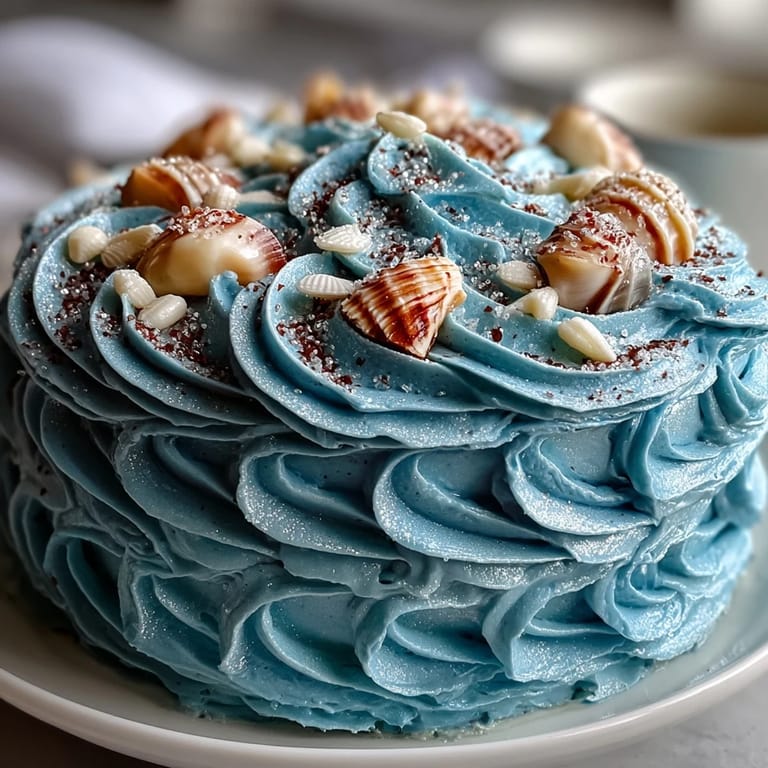
- Apply a final thick layer of blue buttercream, shaping it to emulate ocean waves. Taking time on this step is where fun and creativity meet!
- Create Edible Shells:
- Melt white chocolate in bursts, pour it into shell molds, and chill until set. Tapping the molds to release air pockets gives a smooth finish.
- Decorate:
- Unmold the shells, brush with pearl dust for sparkle, then artfully place them on the cake to evoke that dreamy seaside effect. It’s all in the details!
- Chill and Serve:
- Chill the finished cake until you’re ready to serve, giving the inviting blue buttercream time to set. The anticipation is worth it!
 Pin it
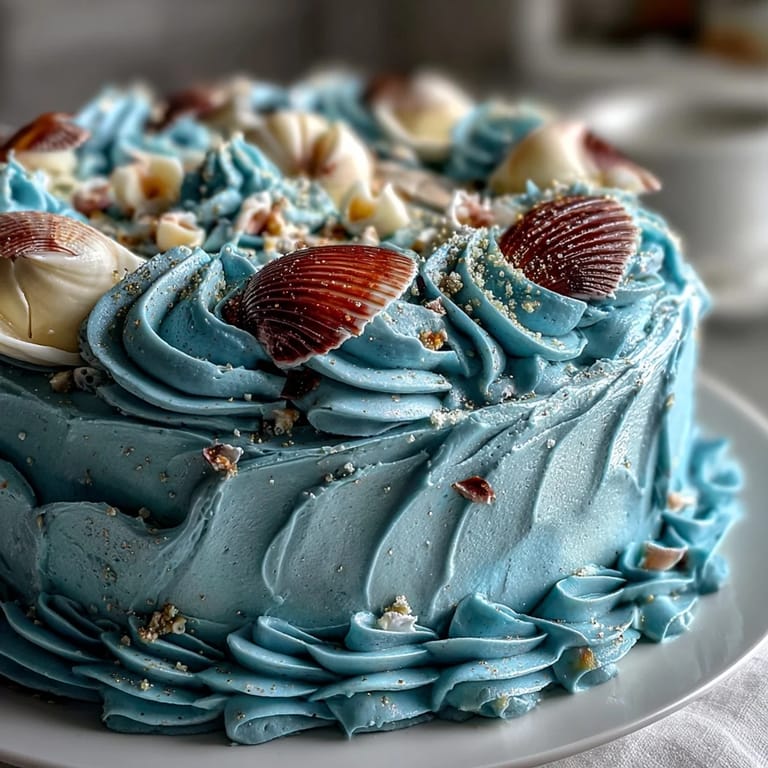
 Tips for the Perfect Ocean-Wave Buttercream
When smoothing the buttercream, consider using a spatula dipped in hot water to create smooth surfaces. It’s a technique that’s saved me many late-night dessert disasters!
Experimenting with Flavors
Feel free to introduce new flavors; the cake holds up wonderfully with variations like almond or citrus zests. Who knows, one flavor exploration might just become your favorite!
Creating the Right Texture
The right consistency for the buttercream is crucial for that ocean wave effect. Aim for a fluffy but spreadable texture—too runny, and the waves will fall flat.
- Test the consistency by spreading it on a plate—if it holds peaks, you’re set!
- For a fun touch, add edible glitter to the buttercream before final smoothing.
- Keep your cake refrigerated for a few hours—it makes cutting easier.
 Pin it
 Every moment spent preparing this cake is an invitation to joy and creativity; baking with friends makes the experience even more magical.
Recipe FAQs
- → What flavors can I add to the cake?
You can enhance the vanilla flavor by adding coconut or lemon zest to the cake batter for a refreshing twist.
- → Can I use different colors for the buttercream?
Yes, you can use various shades of blue or other colors to create a unique ocean effect with the buttercream.
- → What drinks pair well with this cake?
This cake pairs wonderfully with sparkling Moscato or a citrus-forward mocktail for a refreshing complement.
- → How can I store the cake?
Chill the cake until serving and store leftovers in an airtight container in the refrigerator for freshness.
- → Are the edible shells difficult to make?
No, making edible shells is easy! Just melt white chocolate or candy melts and pour into silicone molds to set.