 Pin it
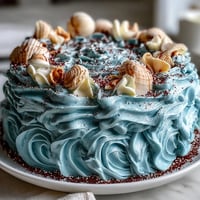
 My nephew called me three weeks before his graduation, voice cracking slightly as he asked if I'd make him a special cake. He described this vision of colored layers that got darker toward the bottom, like a sunset melting into night. I'd never attempted anything quite so layered before, but something about the request—the hope in his words—made me want to try. That cake taught me more about patience, color theory, and the magic of butter than I expected. When I pulled those four perfect layers from the oven, I knew this recipe would become my go-to for every celebration that mattered.
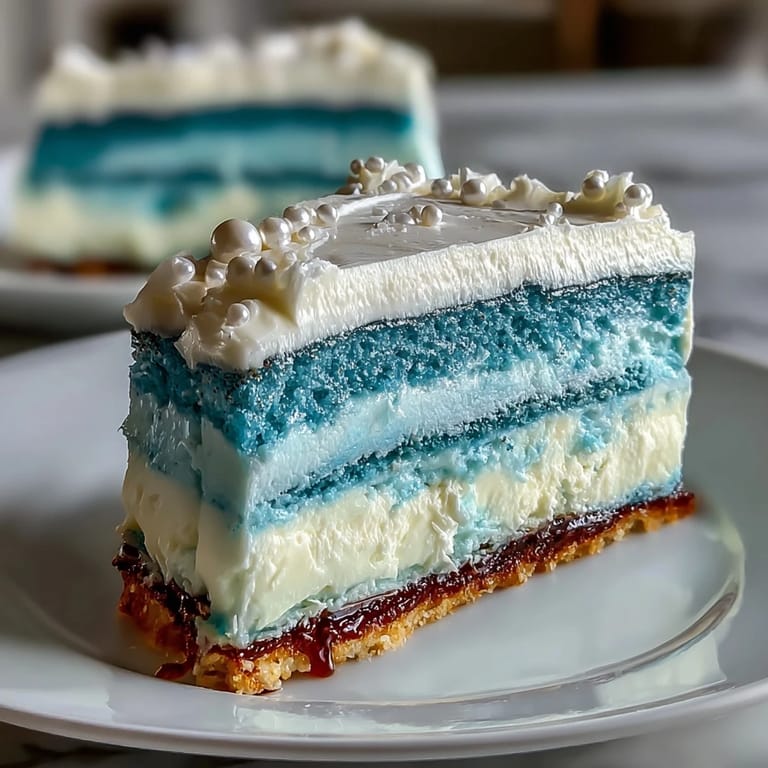
Watching my nephew's face light up as he stepped into the gym for graduation rehearsal and saw that cake waiting on the refreshment table was something I'll never forget. His friends crowded around it, pointing at how each layer was distinctly darker, and someone said it looked too pretty to cut. We cut it anyway, of course, and the layers revealed themselves in that perfect gradient, and I caught my nephew grinning so hard his cheeks hurt.
Ingredients
- All-purpose flour: The foundation of your cake's structure; make sure it's sifted or whisked with the baking powder and salt so the layers rise evenly.
- Baking powder: This is what gives you those four tender, high-rising layers that won't compress under buttercream.
- Salt: Even a small pinch brightens the sweetness and balances the vanilla.
- Unsalted butter: Room temperature is non-negotiable here; cold butter won't incorporate air properly, and your cake will be dense instead of light.
- Granulated sugar: Beat it with the butter until the mixture looks pale and slightly fluffy; this aeration is what gives the cake its tender crumb.
- Large eggs: Room temperature means they blend seamlessly into the batter without deflating it.
- Vanilla extract: Use pure vanilla; imitation has a slightly chemical aftertaste that becomes noticeable in such a buttery cake.
- Whole milk: Room temperature helps it mix smoothly without shocking the batter temperature.
- Gel food coloring: Gel is crucial for deep, true colors without adding excess liquid that would throw off your ratios.
- Egg whites and sugar (for buttercream): This meringue-based frosting is silkier and less grainy than American buttercream, and it holds color beautifully.
Tired of Takeout? 🥡
Get 10 meals you can make faster than delivery arrives. Seriously.
One email. No spam. Unsubscribe anytime.
Instructions
- Get your mise en place ready:
- Preheat the oven to 350°F and grease all four 8-inch cake pans thoroughly before lining them with parchment paper. Having everything prepared means you won't rush the batter steps and accidentally overwork the flour.
- Create your dry foundation:
- Whisk together the flour, baking powder, and salt in a medium bowl; this distributes the leavening evenly so your layers rise uniformly. Set it aside and don't skip the whisking—it's essentially pre-mixing your rise.
- Build your butter and sugar base:
- Beat the softened butter and sugar together for about 3 to 4 minutes until it's noticeably lighter in color and fluffy, almost like a cloud. This is where you're incorporating air, which becomes the structure of your cake.
- Add your eggs one at a time:
- Drop in each egg slowly and mix well after each addition; rushing this step can cause the batter to separate and look curdled. If it does split slightly, don't panic—adding the flour mixture next will bring it back together.
- Mix in the vanilla and begin alternating:
- Stir in your vanilla, then alternate adding the flour mixture and milk, starting and ending with flour. The milk keeps the batter moist while the flour prevents overmixing; stop as soon as everything is just combined.
- Divide and tint your batters:
- Split the batter evenly into four bowls using a scale if you have one, or eyeball it as closely as you can. Add gel coloring progressively—a tiny toothpick dab to the first bowl, slightly more to the second, and so on—until you have your gradient.
- Pour and bake:
- Pour each colored batter into its prepared pan, smooth the tops gently with an offset spatula, and slide them into the oven. Bake for 22 to 25 minutes; you'll know they're done when a toothpick comes out with just a few moist crumbs, not wet batter.
- Cool with patience:
- Let the layers sit in their pans for 10 minutes—they'll pull away slightly from the edges—then turn them out onto wire racks. They need to cool completely before assembly, or your buttercream will melt and slide off.
- Make your Swiss meringue buttercream:
- Combine egg whites and sugar in a heatproof bowl, then set it over a pot of simmering water, making sure the bowl doesn't touch the water. Whisk constantly for about 5 to 8 minutes until the mixture reaches 160°F and feels completely smooth with no graininess.
- Whip until peaks form:
- Transfer the warm meringue to a mixer and whip on high speed for about 8 to 10 minutes until stiff peaks form and the bowl feels cool to the touch. This cooling and aeration is what makes Swiss meringue so silky compared to other frostings.
- Add butter gradually:
- Add the softened butter a few cubes at a time, beating well between additions; this slow incorporation prevents the buttercream from breaking or becoming greasy. If it looks curdled at any point, keep mixing—Swiss meringue usually comes back together.
- Color your frosting:
- Divide the buttercream if you want an ombre effect in the frosting itself, and tint each portion to complement or match your cake layers. Stir in your vanilla just before using.
- Trim and stack:
- If any cake layer has a dome, use a serrated knife to carefully level it, then place your darkest layer on a cake stand or plate. Spread a thin layer of buttercream on top, then stack the next layer, continuing from darkest to lightest.
- Apply the crumb coat:
- Frost the entire outside of the stacked cake with a very thin layer of buttercream; this seals in any crumbs before the final frosting. Chill for 20 minutes so the crumb coat sets.
- Final frost and decorate:
- Apply your final layer of buttercream, thicker this time, blending the colors on the sides if you want an ombre effect. Pipe details, add pearls or a cake topper, or keep it elegant and simple.
- Chill and serve:
- Refrigerate the finished cake until the frosting is set, then bring it to room temperature for about 30 minutes before cutting. The flavor will be brightest when it's not ice-cold.
 Pin it
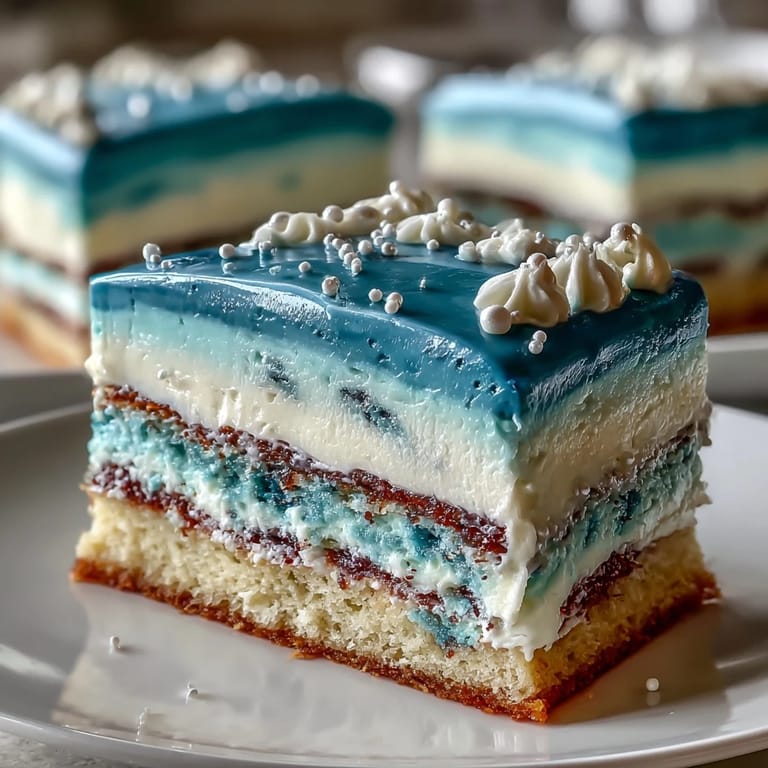
 Months later, my nephew texted me a photo from college showing the graduation cake with his roommates gathered around it on his first weekend away. He'd saved the recipe and told me he was planning to make it for his roommate's birthday. Knowing that my kitchen moment had turned into something he wanted to recreate and share made the whole effort feel infinite.
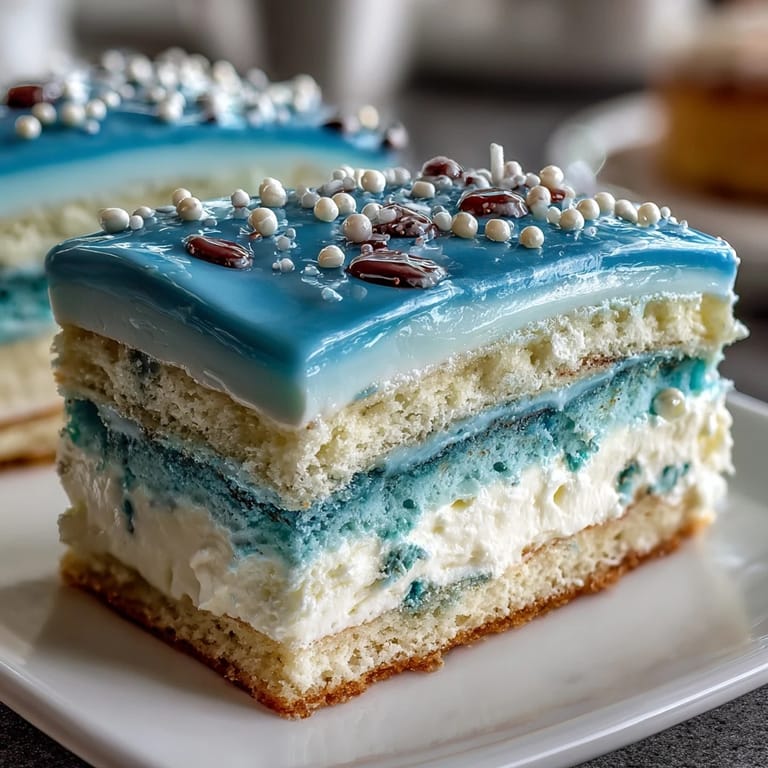
Choosing Your Color Palette
The beauty of this cake is that you're not locked into blue—I've made versions in school colors for my goddaughter's graduation (maroon to gold), soft pastels for a spring celebration, and even a chocolate ombre by replacing some flour with cocoa powder. The key is choosing colors that move from light to dark in a logical way. If you're unsure, stick with one color family like blue to navy, or go classic with chocolate shades. Your eye will guide you as you add the coloring to each portion of batter.
The Science of Meringue
Swiss meringue buttercream intimidated me the first time I read about it, but it's actually more stable than American buttercream once you understand the principle. You're heating the egg whites to a safe temperature while whisking, which eliminates food safety concerns, then whipping in cool air to create volume. The butter then gets incorporated into this aerated meringue, creating a frosting that's smooth, silky, and doesn't taste grainy or overly sweet. It holds up better in warm rooms too, which is essential when you're transporting a four-layer cake to a venue.
Serving and Storage Tips
This cake actually tastes better if you make it a day ahead; the layers set and the flavors deepen overnight in the refrigerator. Just keep it covered so the buttercream doesn't absorb odors from the fridge. On serving day, remove it about 30 minutes before cutting so the crumb comes cleanly and the buttercream has its silky texture. Leftovers keep for about three days refrigerated, though honestly, there are rarely leftovers.
- For transporting, place the finished cake on a sturdy cake board or a large plate that won't shift in a box.
- If you're piping decorative details, do that right before serving so the piping stays sharp and defined.
- Champagne or sparkling cider pairs beautifully with the sweetness of this cake, cutting through the richness in the best way.
 Pin it
 This cake isn't just a recipe; it's proof that the most meaningful celebrations deserve something made with your own hands. Every time you bake it, you're not just creating dessert—you're creating a moment someone will remember.
Recipe FAQs
- → How do I achieve the ombre effect in the cake layers?
Divide the batter into multiple bowls and gradually increase the amount of gel food coloring in each to create a smooth color gradient across layers.
- → What is Swiss meringue buttercream and why is it used here?
Swiss meringue buttercream is a smooth, silky frosting made by whipping heated egg whites with sugar then adding butter. It provides a light texture and excellent stability for layering and decorating.
- → Can I prepare the cake layers ahead of time?
Yes, the cake layers can be baked and cooled fully in advance. Wrap them tightly and refrigerate to maintain freshness before assembling and frosting.
- → What type of food coloring works best to maintain vibrant layers?
Gel food coloring is recommended as it provides intense color without altering the batter’s consistency.
- → How can I decorate the cake for an elegant finish?
Use edible gold or silver pearls and themed toppers such as graduation caps or diplomas. Piped buttercream accents can also enhance the ombre effect.
- → What is the ideal serving size for this cake?
The cake yields approximately 12 servings, making it perfect for medium-sized celebrations.