 Pin it
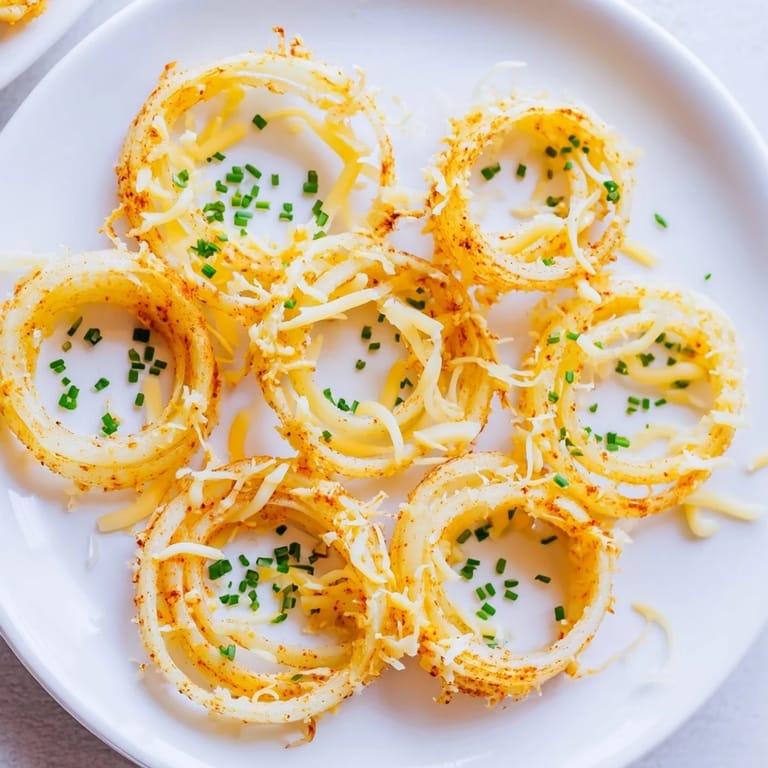
 I discovered these crispy onion cheese chips entirely by accident one Tuesday evening when I was experimenting with leftover cheese and some onions that needed using up before they went soft. The air fryer did something magical to them—turning paper-thin rings into golden, shattering shards that tasted nothing like the sad fried onions I remembered from childhood. My partner wandered into the kitchen mid-cook and asked what smelled so good, and by the time they finished asking, I'd already burned my fingers pulling a batch out because I couldn't wait. Now they're the snack I make when I want something that feels indulgent but fits my low-carb life perfectly.
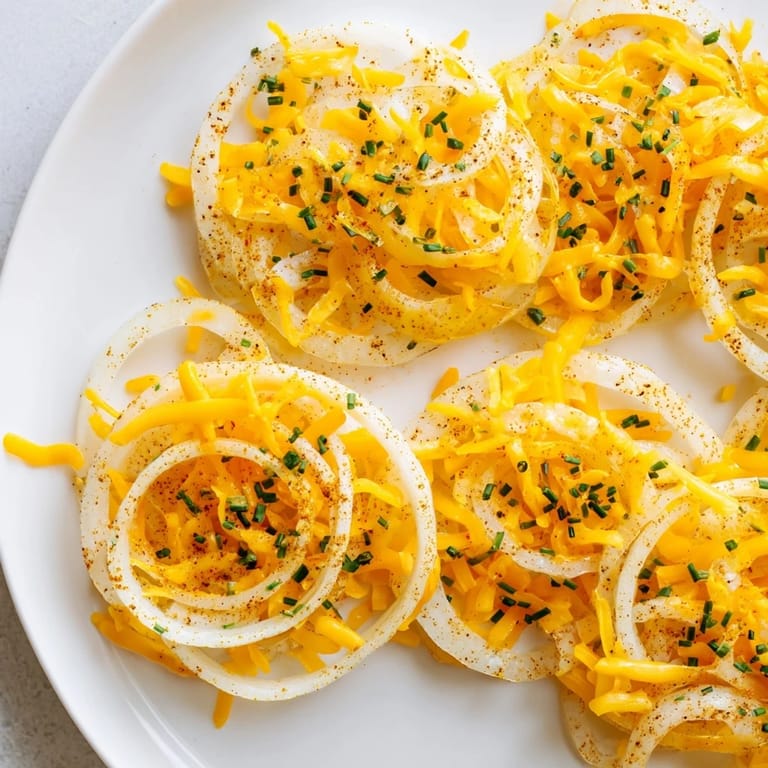
I made these for a small gathering last spring when everyone showed up expecting boring veggie platters, and instead I set down a warm basket of these cheesy onion chips still crackling from the air fryer. The room went quiet for a second—the good kind of quiet—and then someone asked for the recipe before they'd finished their first one. That's when I knew this wasn't just a random experiment; it was something worth perfecting.
Ingredients
- Yellow onions: Medium-sized onions slice more evenly than small ones, and yellow onions strike the perfect balance between sweetness and savory bite—avoid red onions here as they turn too soft.
- Cheddar cheese: The sharp variety holds its structure better than mild when exposed to heat, giving you that satisfying melt without turning greasy.
- Mozzarella cheese: This is your binder and your crisp factor; it helps everything hold together while creating those lacy golden edges.
- Garlic powder: A quarter teaspoon might sound stingy, but garlic powder concentrates when heated, so trust the measurement or your chips will taste like a garlic factory.
- Smoked paprika: This does two things at once—adds color that makes them look professionally made and brings a subtle depth that keeps people guessing about your secret ingredients.
- Black pepper and salt: Freshly ground pepper makes a visible difference here; pre-ground fades into the background when the cheese takes over.
- Fresh chives or parsley: Optional but worth it—a scattered pinch at the end brings brightness that cuts through the richness.
Tired of Takeout? 🥡
Get 10 meals you can make faster than delivery arrives. Seriously.
One email. No spam. Unsubscribe anytime.
Instructions
- Slice your onions paper-thin:
- An eighth-inch thickness is your target—thick enough to hold the cheese but thin enough to crisp up instead of steam. A mandoline takes five seconds and eliminates the hand-cramping that comes with a knife; if using a knife, let your knuckles guide the blade and work slowly.
- Dry them like you mean it:
- Pat each ring with paper towels until they feel completely dry to the touch; any surface moisture turns to steam in the fryer and keeps your chips from crisping properly.
- Heat your air fryer to 375°F:
- This temperature is precise because it's just hot enough to melt the cheese and caramelize the onion edges without burning either one. Don't skip the preheat step.
- Layer your onion rings:
- Arrange them in a single layer on parchment paper in the basket—overlapping rings steam each other instead of crisping, and that defeats the entire purpose.
- Mix your cheese blend with seasonings:
- Combine both cheeses with the garlic powder, paprika, pepper, and salt in a bowl before sprinkling; this ensures every ring gets an even distribution of flavor instead of patches of bare onion.
- Coat each ring generously:
- Use your fingers to press the cheese mixture onto each onion ring, working it into any crevices. This step feels tedious but it's what prevents naked spots that will disappoint you mid-bite.
- Air-fry with your eyes open:
- Set the timer for eight minutes first, then check progress; every air fryer runs slightly different, and the line between golden-perfect and burned-crispy is quick. You'll see the cheese edges turn lacy and the onions soften at the edges.
- Cool them briefly in the basket:
- Two to three minutes of sitting lets the cheese set and the chips finish crisping as they cool slightly. This is when they transform from soft to properly crunchy.
- Transfer and serve warm:
- A metal spatula slides under them cleanly if you let them cool just enough. Serve immediately while the contrast between crispy cheese and tender onion is at its peak.
 Pin it
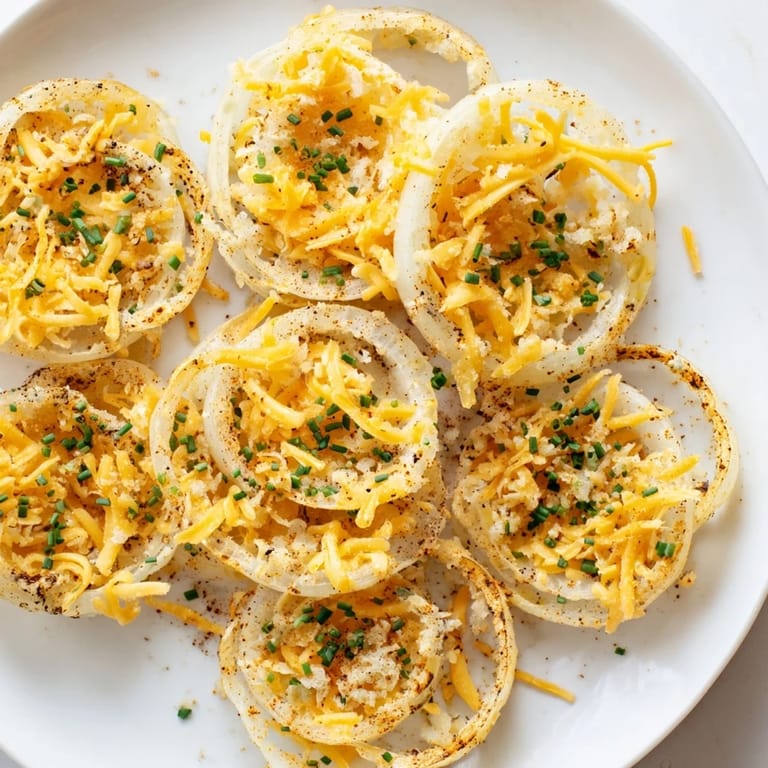
 There's a moment when you pull these out of the air fryer and hear that actual crackle—not a metaphorical crunch, but an audible snap—that reminds you why people get so passionate about cooking. It's the sound of chemistry working exactly right, and it's one of the few snacks that tastes like more effort went into it than actually did.
Flavor Variations That Actually Work
Once you nail the basic version, the fun begins because the base is forgiving enough to accommodate additions without falling apart. I've added a pinch of chili flakes for heat, which plays beautifully against the sweetness of caramelized onion, and I've swapped in grated Parmesan for half the mozzarella when I want something sharper and more assertive. The key is keeping the total cheese quantity the same; more cheese doesn't equal better results, just greasier chips.
Storage and Reheating Secrets
Leftovers live in an airtight container and stay decent for two days, though they're genuinely better eaten fresh. If you must reheat them, skip the microwave entirely—it turns them soggy and sad—and instead use the air fryer at 325°F for two minutes, which restores most of that initial crispness. I've found that pulling them out at exactly the two-minute mark beats waiting longer, because the cheese edges re-melt perfectly without taking on that waxy quality from overheating.
The Perfect Accompaniments and Serving Ideas
These chips shine on their own, but I've learned that pairing them with something cool and creamy pushes them into another category entirely. A quick Greek yogurt ranch—just yogurt, a packet of dry ranch seasoning, and a splash of lemon juice—balances the richness beautifully, or go bold with a spicy aioli made from mayo and sriracha. They also work wonderfully as a stand-in for bread alongside soup, particularly a creamy tomato or butternut squash soup where they provide structure and an unexpected textural contrast.
- Make them ahead and reheat gently in the air fryer rather than serving cold.
- Serve them on a board with various dips so guests can explore different flavor combinations.
- Double the batch because you'll be surprised how quickly they disappear once people realize how good they are.
 Pin it
 These have become my go-to when I want something that feels special without actually being complicated, and they never fail to surprise people who assume anything healthy must taste like punishment. The fact that they're low-carb, gluten-free, and vegetarian is almost beside the point once everyone tastes how genuinely delicious they are.