 Pin it
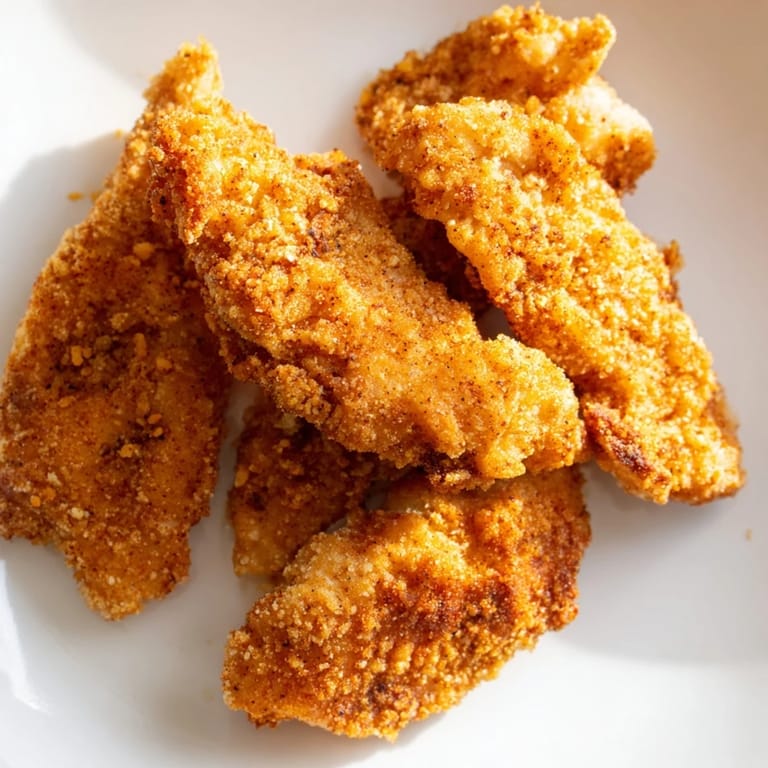
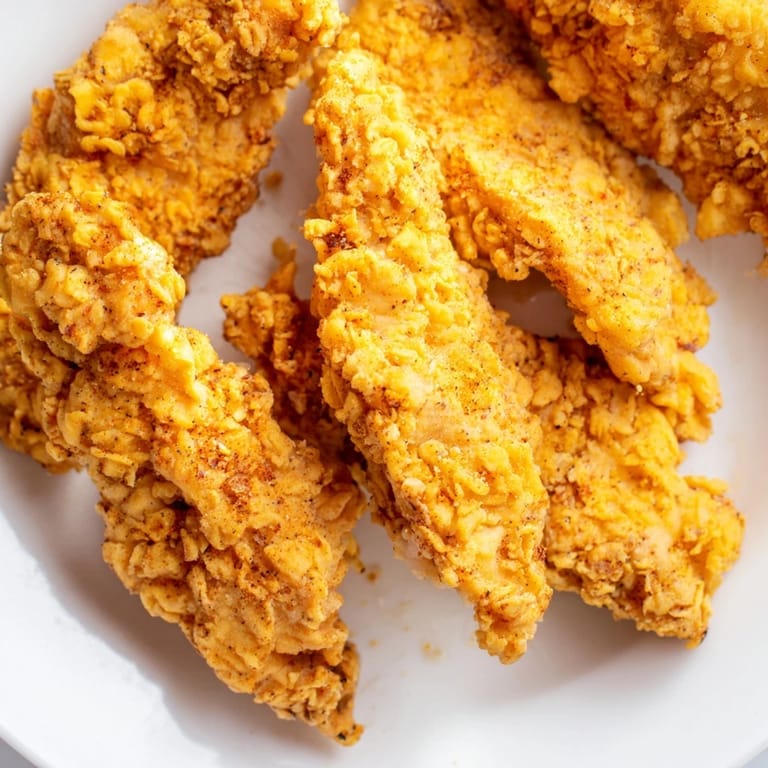
 The smell of frying chicken has a way of pulling everyone into the kitchen, even before you call them. I started making these tenders on a Tuesday night when I was too tired for anything complicated but craved something that felt like comfort. The buttermilk soak was already in the fridge from breakfast biscuits, and I had chicken thawing with no real plan. What came out of that skillet surprised me: golden, crackling, juicy enough that my daughter ate three before I plated the rest.
I brought a platter of these to a potluck once, still warm in a towel lined basket. They vanished before the casseroles were even uncovered. Someone asked if I'd ordered them from a restaurant, and I just smiled. There is something deeply satisfying about food that makes people pause mid conversation and reach for seconds without asking.
Ingredients
- Chicken tenders (500 g): These cook faster and more evenly than breasts, and their shape is perfect for even coating.
- Buttermilk (240 ml): The acidity tenderizes the meat and helps the flour stick like glue, creating that craggy crust.
- Salt, black pepper, garlic powder, onion powder: This simple blend in the marinade seasons the chicken all the way through, not just on the surface.
- All purpose flour (180 g): The foundation of the crust, it crisps beautifully when the oil is hot enough.
- Paprika (1 1/2 tsp): Adds a warm color and subtle sweetness that balances the savory notes.
- Cayenne pepper (1/2 tsp, optional): A little heat that sneaks up on you, leave it out if cooking for kids.
- Baking powder (1 tsp): This is the secret to a shatteringly crisp coating, it creates tiny air pockets as it fries.
- Vegetable oil (500 ml): Neutral flavor and high smoke point make it ideal for frying without burning.
Tired of Takeout? 🥡
Get 10 meals you can make faster than delivery arrives. Seriously.
One email. No spam. Unsubscribe anytime.
Instructions
- Marinate the chicken:
- Whisk buttermilk with salt, pepper, garlic powder, and onion powder in a large bowl, then add the tenders and turn them until coated. Cover and refrigerate for at least an hour, though overnight makes them incredibly tender.
- Prepare the coating:
- Combine flour, paprika, salt, pepper, cayenne, and baking powder in a shallow dish and whisk to distribute the spices evenly. This is your armor for each tender.
- Heat the oil:
- Pour oil into a deep skillet or Dutch oven and heat over medium high until it reaches 175 degrees Celsius. If you drop a pinch of flour in, it should sizzle immediately.
- Coat the tenders:
- Lift each tender from the marinade, let the excess drip off, then press it into the flour mixture on both sides. The coating should look thick and shaggy.
- Fry in batches:
- Slide the tenders into the hot oil without crowding the pan, and fry for 4 to 5 minutes per side until deep golden brown. The internal temperature should hit 75 degrees Celsius.
- Drain and rest:
- Transfer the fried tenders to a paper towel lined plate and let them rest for 2 minutes. This lets the crust set and the juices redistribute.
 Pin it
 There was a Sunday afternoon when I made these with my son standing on a stool beside me, watching the bubbles dance around each piece. He asked why they turned gold, and I realized I did not have a good answer beyond magic. We ate them with honey mustard on the porch, and he told me they tasted like a celebration.
Choosing Your Dipping Sauce
Honey mustard is my go to because the sweetness plays off the cayenne, but ranch cools things down if you went heavy on the spice. I have also served these with a squeeze of lemon and hot sauce on the side, which my husband prefers. The beauty is that the chicken is flavorful enough to stand alone, so the sauce is just a bonus.
Making Them Ahead
You can marinate the chicken up to 24 hours in advance, which actually improves the flavor. If you need to fry them earlier in the day, reheat them in a 180 degree Celsius oven for about 10 minutes to bring back the crunch. They will not be quite as perfect as fresh, but still better than anything from a drive through.
Adjusting for Preferences
I have made these without the cayenne for my daughter and doubled it for friends who like heat. You can also swap in pickle brine for half the buttermilk if you want a tangier flavor. The flour coating is forgiving, so play with the spices until it feels like yours.
- For extra crunch, dip the floured tenders back into buttermilk and coat them again before frying.
- Use a thermometer to monitor oil temperature, it makes a huge difference in texture.
- Let the chicken sit at room temperature for 15 minutes before frying so it cooks evenly.
 Pin it
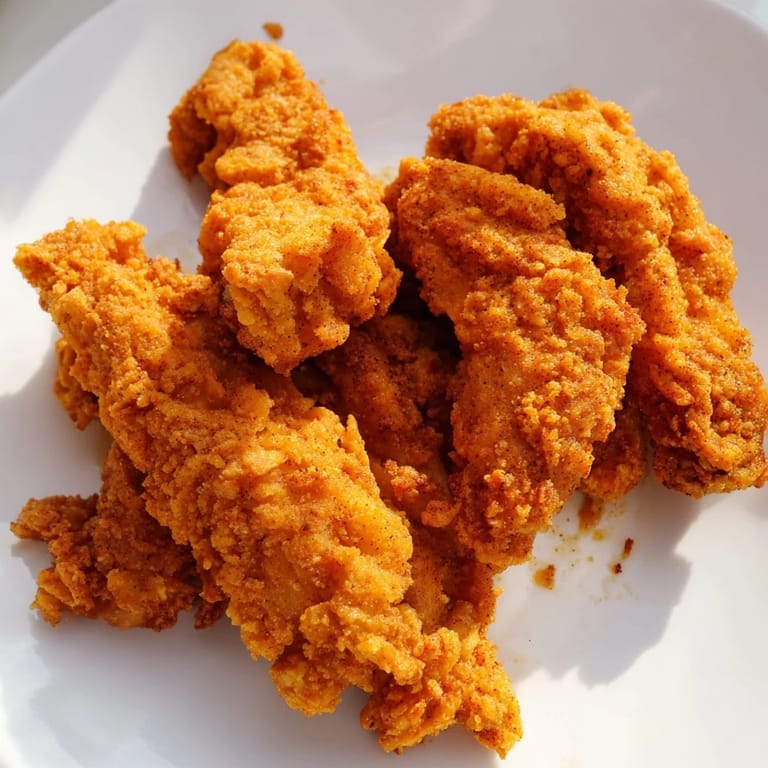
 These tenders have become my answer to rough days and good ones alike. Serve them hot, with people you love, and watch how quickly the plate empties.
Recipe FAQs
- → How long should I marinate the chicken?
Marinate for at least 1 hour for good flavor, though overnight marinating in the refrigerator yields even better results. The buttermilk tenderizes the meat while infusing it with flavor.
- → What's the ideal oil temperature for frying?
Heat the oil to 175°C (350°F) for best results. Use a cooking thermometer to ensure accuracy. Oil that's too cool produces greasy chicken, while oil that's too hot burns the coating before the inside cooks through.
- → How do I know when the chicken is fully cooked?
Fry for 4–5 minutes per side until the coating is golden brown. Use a meat thermometer to verify the internal temperature reaches 75°C (165°F). This ensures food safety while keeping the meat tender.
- → Can I make this ahead of time?
Yes, you can prepare the marinade and coat the chicken up to 4 hours ahead. Keep it refrigerated until ready to fry. However, frying is best done just before serving for maximum crispness.
- → What's the double-dip method?
After the first flour coating, dip the tender back into buttermilk and coat again with the flour mixture. This creates an extra-thick, extra-crispy crust that adds wonderful texture.
- → Is there a gluten-free option?
Yes, substitute all-purpose flour with a gluten-free flour blend in the same proportion. The texture and taste remain similar, though gluten-free blends may have slightly different cooking times.